
What the tourism corridor needed
The client was a public-facing tourism body based in Nelspruit, working across a route that draws day visitors, international travellers and local families moving between viewpoints, cultural stops, accommodation nodes and service points. The signage had to do more than point people in the right direction. It needed to help visitors make decisions quickly, reduce missed turns, and give the whole corridor a clean visual order that felt consistent from one stop to the next.
The brief was practical. Signs had to cope with strong sun, summer rain, dust and the occasional impact from road spray and debris. Some locations were on busy arterial roads, while others sat deeper inside visitor precincts with tighter verge space. We also had to factor in municipal approval requirements, uneven ground levels, and the fact that several sign positions were close to trees and planted areas that shift through the seasons.
- Visitor wayfinding across multiple sites
- Attraction identification at entry points and turn-offs
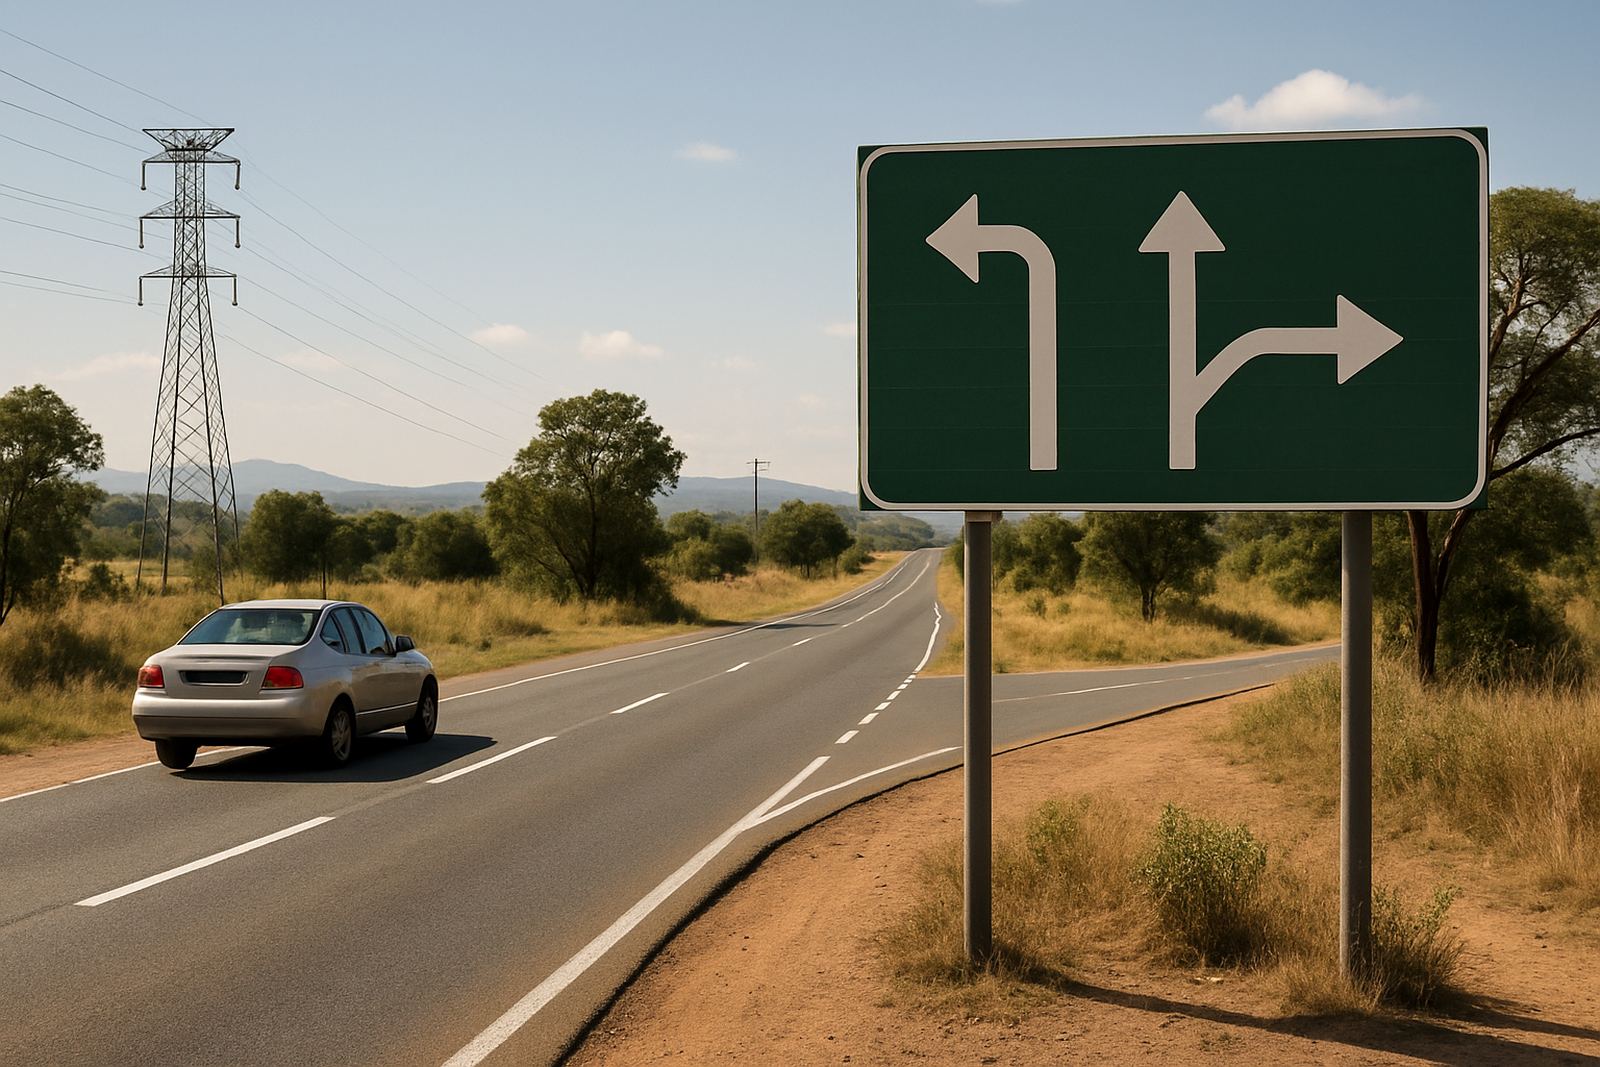
- Clear, easy-to-read direction panels for moving traffic
- Materials suited to outdoor use in lowveld heat and rain
Survey work and route planning
We started with site surveys along the corridor and at the key tourism nodes. That meant checking approach speeds, reading distances, road widths, existing signage clutter and the best angles for legibility. In a route like this, one bad placement can make a sign invisible at 60 km/h, so we mapped each position carefully before any fabrication started.
Our planning stage also included wayfinding logic. We grouped destinations by type, then built a simple hierarchy so motorists could see the main destination first and supporting information second. Where a route split was likely to confuse visitors, we used extra direction panels and repeat confirmation signage a short distance later. It sounds simple, but it saves a lot of wrong turns.
- Measured sightlines and setback distances at every installation point
- Checked shoulder conditions and fixing zones for each sign base
- Co-ordinated with local authorities on approvals and placement notes
- Set a sign sequence that worked for first time visitors and repeat users
Materials selected for the lowveld climate
For this corridor, we specified materials that could handle heat, UV exposure and seasonal rain without looking tired after one summer. Main sign faces were made from aluminium composite and printed vinyl for the route panels, while direction blades and attraction markers used routed Perspex and aluminium components where extra depth or contrast was needed. Structural items were fabricated in steel and finished for outdoor use, with fixings selected to limit corrosion in the more humid sections near the escarpment side of the route.
Where visibility mattered after dark, we included reflective detail and high contrast colour breaks. In a few locations we added simple internal illumination or external light box treatments, depending on access to power and the surrounding context. Nothing was overcomplicated. The goal was to keep maintenance manageable while still giving the route a tidy, professional look.
- Aluminium composite panels for route maps and direction boards
- Routered Perspex for layered identity marks and pointing elements
- Powder coated steel frames for strength and weather protection
- Reflective accents for night-time and low-light visibility
Fabrication and production detail
Our fabrication team managed the build in stages so the route could be installed in sequence. Panels were cut, printed, trimmed and checked against the approved artwork before being assembled into their final frames. For larger free-standing units, we tested the proportions in the workshop first, because even a small change in panel width can affect readability when the sign is seen from a moving vehicle.
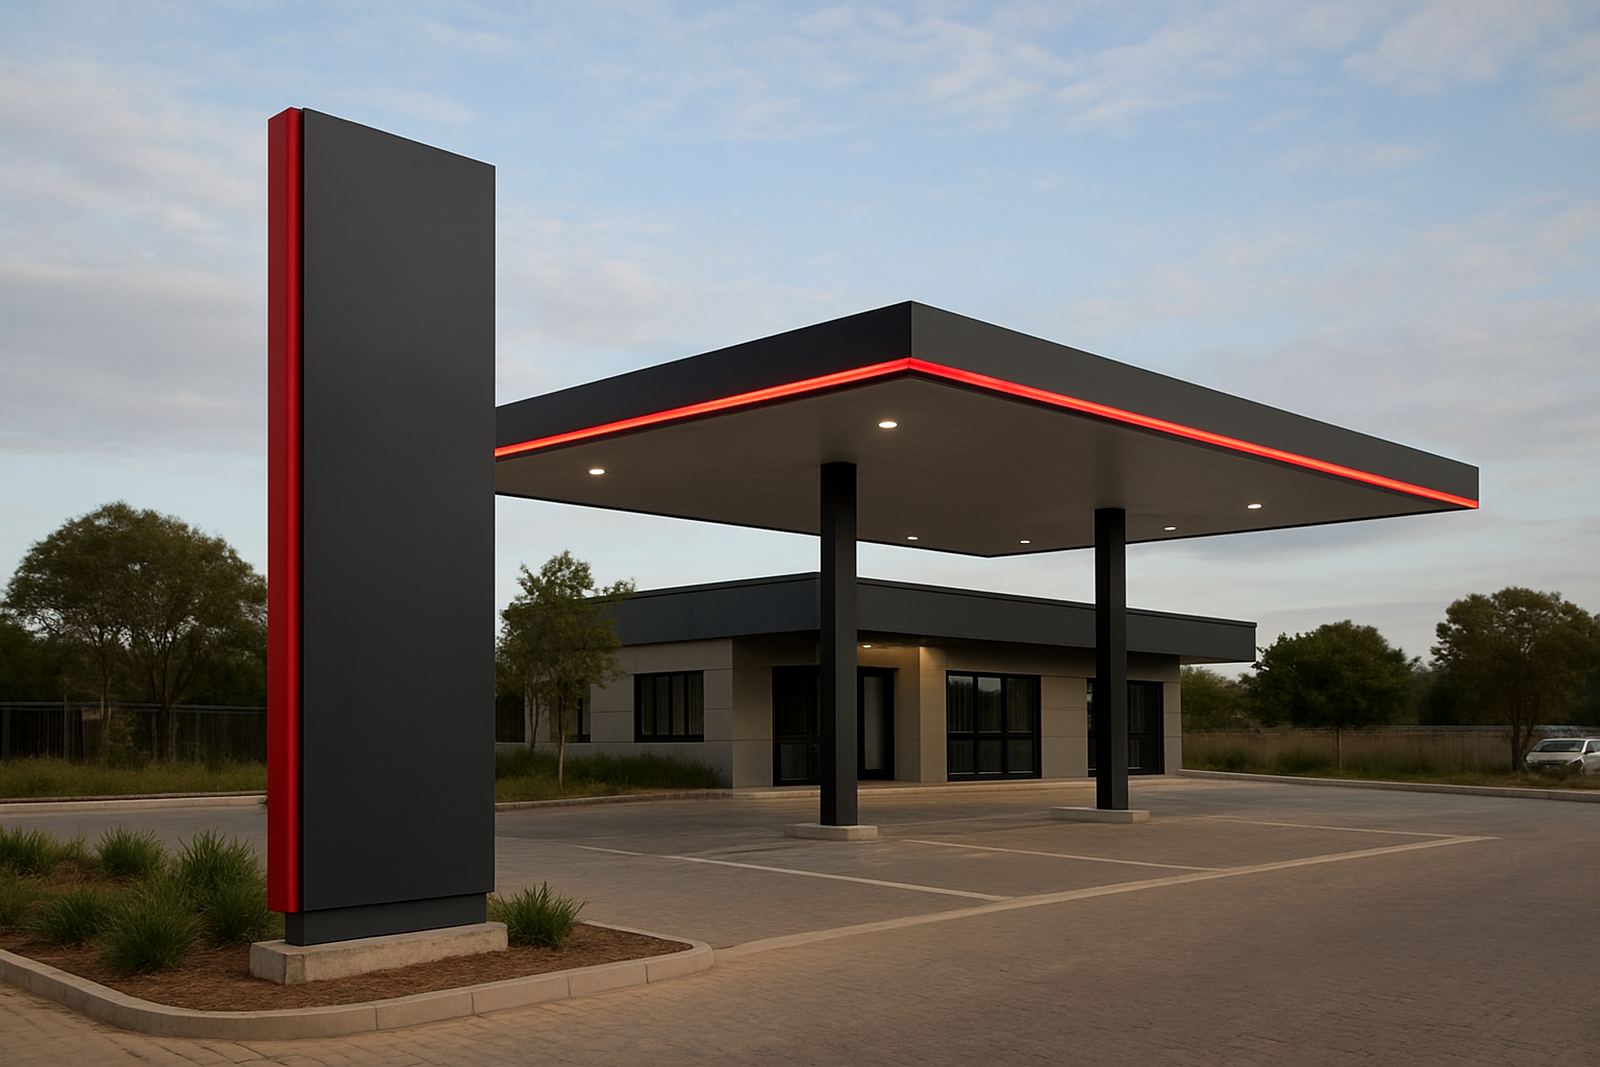
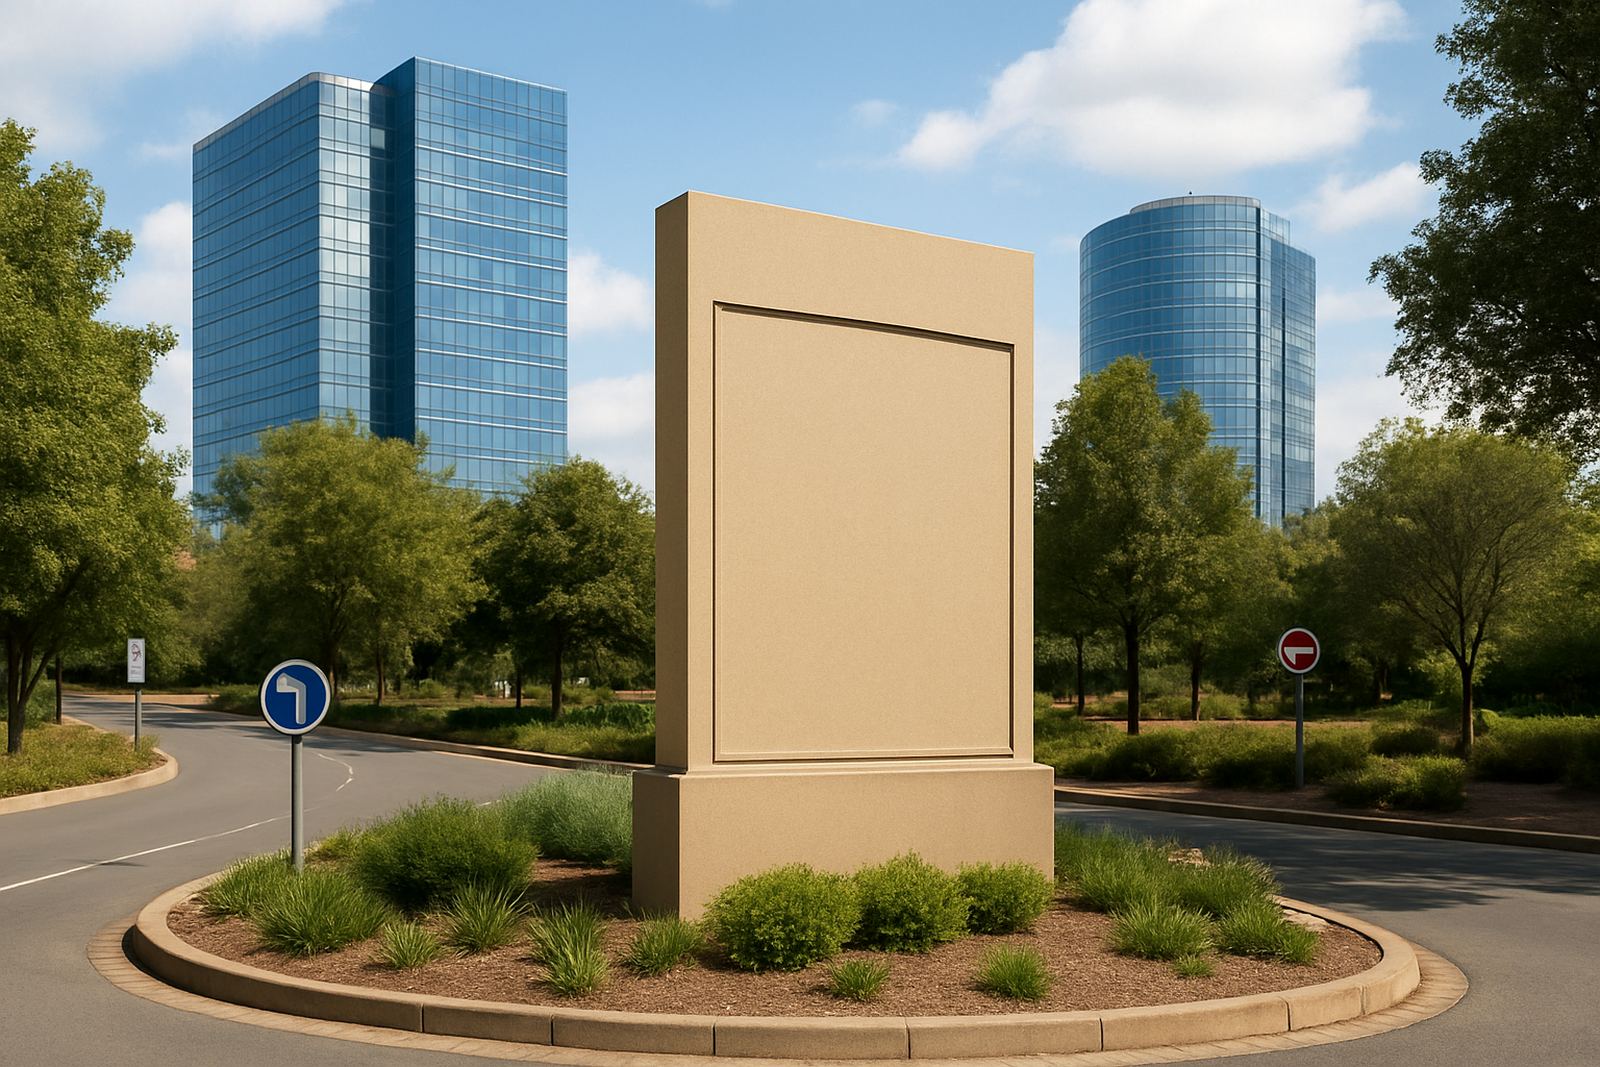
The corridor included several different sign types, so the production mix had to stay consistent. We built entry markers, directional blades, attraction panels, bracketed wall signs and a few free-standing structures for the more prominent nodes. Some pieces used layered lettering for depth, while others stayed flat for speed and clarity. The finish schedule was matched across all units so the route looked like one system, not a collection of unrelated signs.
- Printed and laminated panels for long life in direct sun
- Fabricated frames sized to suit each mounting location
- Consistent colour matching across the full route package
- Quality checks for edge sealing, fixing points and panel alignment
Installation across a working tourism route
Installation took place over four weeks, timed around site access, visitor movement and the need to keep disruption low. Some stops could be fitted quickly from the verge, while others needed more careful work around paving, kerbing or planted edges. Our rigging crew handled the lifting, positioning and final alignment, and our project engineer checked the structural details before sign-off at each location.
Because the route serves seasonal traffic and day visitors, we made sure every sign read clearly on approach and still made sense once a driver had passed it. Where a location had more than one decision point, we installed repeat guidance rather than forcing people to rely on memory. That small adjustment made a real difference to flow. It reduced hesitation and made the whole corridor feel more organised.
- Four week installation programme from first site to final handover
- On-site alignment and verification at each key point
- Traffic-aware working method with limited disruption to visitors
- Final walkthrough with approval notes and handover records
Results and what we would repeat
The finished route gave visitors clearer direction between attractions, accommodation stops and service points, with less reliance on asking for help or making U-turns. From a client perspective, the biggest win was consistency. The signs looked like they belonged to one corridor system, and that helped the whole area feel easier to use. It also improved how the route presented to first-time travellers, which matters on a tourism line where confidence starts at the road edge.
On a route like this, we would still begin with a proper survey and keep the message hierarchy simple.: start with a proper route survey, keep the message hierarchy simple, and specify materials that suit the local climate rather than trying to over-design the signs. For corridors like this, practical always wins. Good spacing, clean copy and solid fabrication do more work than fancy details ever will.
- Clearer visitor movement between tourism stops
- Better consistency across the full corridor
- Reduced confusion at turn-offs and entry points
- Simple maintenance planning for long term use
Key facts
| Client type | Public tourism and visitor-facing corridor client |
|---|---|
| Location | Nelspruit and surrounding regional tourism route |
| Timeline | 4 weeks from site survey to installation handover |
| Main materials | Aluminium composite, routed Perspex, steel frames, printed vinyl |
| Sign types | Directional signs, attraction markers, entry panels, free-standing route signage |
| Scope | Survey, wayfinding planning, fabrication, installation, handover and maintenance planning |