
Why weathering starts before the screen arrives
An outdoor LED screen is not just a display fixed to a wall or pole. It is a full system that has to keep working through summer storms in Gauteng, dust in dry inland areas, and coastal moisture in places like Durban. If the screen is specified only for brightness and resolution, the site can still fail because the cabinet was never properly sealed or the mounting left nowhere for water to go.
The first step is to treat the environment as part of the design brief. That means checking the direction of driving rain, sun exposure during peak afternoon heat, existing drainage on the structure and how maintenance crews will reach the back of the screen. A unit that looks fine on day one can run into trouble after the first heavy storm if the gasketing, vents and cable entries were not thought through.
Weather sealing that holds up in real conditions
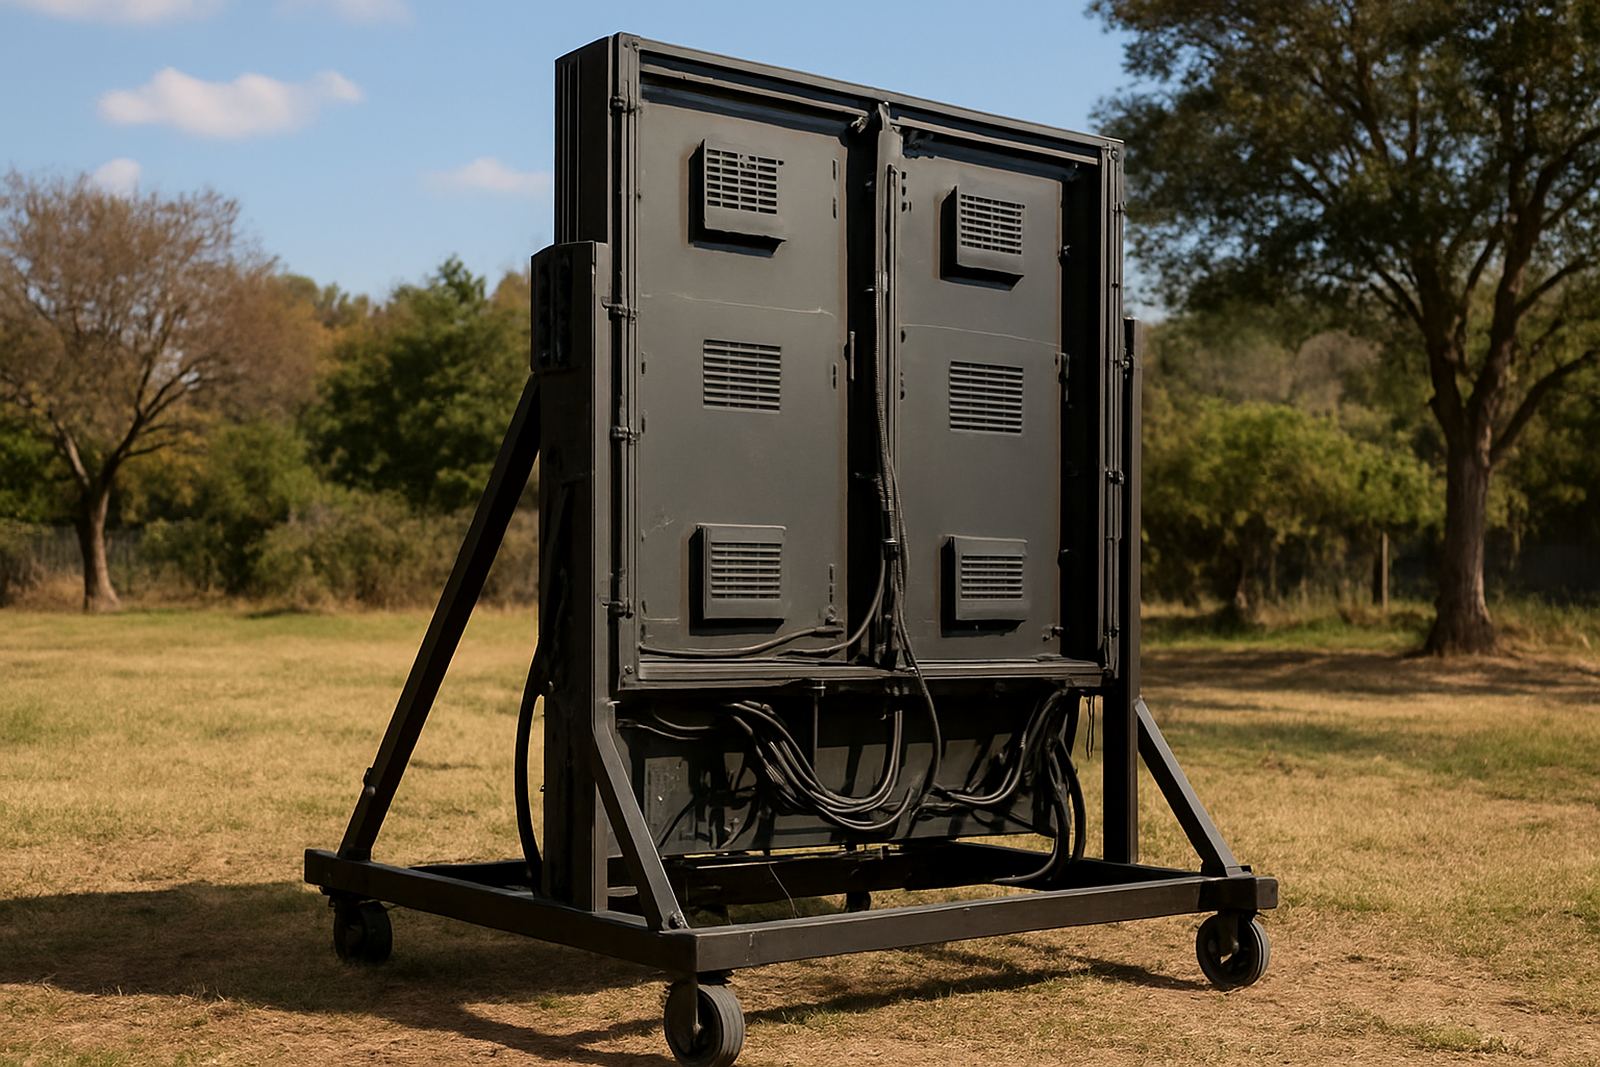
Good weather sealing is not only about making the cabinet watertight. It is about controlling where moisture can enter, where it can collect and how it will leave again. Outdoor screens should have properly sealed access doors, sealed seams, protected cable glands and a front face that sheds water instead of trapping it. On large screens, even a few poor joints can become the entry point for fine dust or wind-driven rain.
Material choice matters as well. Aluminium frames are common because they resist corrosion better than untreated steel, while fixings and brackets should be selected for the site. Near the coast, salty air can attack cheap fasteners and cable hardware very quickly. Inland, dust and fine grit can work into seals and hinges so those details need inspection access, not guesswork.
- Use sealed cable entries with proper strain relief, not loose drilled holes.
- Keep service doors gasketed and check that latches compress the seal evenly.
- Specify corrosion resistant fixings for coastal or high-humidity sites.
- Avoid placing drainage outlets where they can be blocked by debris or bird droppings.
Drainage paths must be designed, not hoped for
Water management is one of the most overlooked parts of outdoor digital signage. If a cabinet has no clear drainage path, moisture will sit inside after rain or condensation and the damage can show up as failed modules, corroded connectors or intermittent signal faults. In practice, good drainage starts with the tilt of the assembly, the lip detail on the housing and the way internal trays are shaped.
A screen mounted on a parapet or canopy may catch water from above and below. That is why the structure should never rely on a flat top surface to stay clean and dry. Small design features like drip edges, weep points and protected lower edges make a major difference. They are simple details but they reduce the chance of trapped water after a summer downpour or a sudden cold front.
- Introduce a slight outward fall on top surfaces where possible.
- Provide weep points so condensation can escape instead of pooling.
- Keep sign cabinets clear of ledges that collect leaves and dirt.
- Check that nearby roofing or cladding does not dump water onto the screen face.
Heat management for Johannesburg summers and beyond
Heat is as damaging as rain, sometimes more so. In Gauteng, outdoor screens can sit in direct sun for long hours, then take a sudden temperature drop after late afternoon storms. That cycle puts stress on drivers, power supplies and the panel surface. If the enclosure cannot release heat, components age faster and colour consistency can drift over time.
The answer is a balanced thermal design. Some installations need forced air movement, while others rely on passive ventilation and heat sinking. Either way, airflow paths must be planned so that warm air can leave the cabinet without drawing in rain or dust. It is also worth checking the screen orientation. A few degrees of adjustment can reduce solar load and make the unit easier to maintain. On a project in Modderfontein, a screen facing west needed extra thermal allowance because the late sun hit the enclosure hard through summer, and the difference between a shaded bracket line and a fully exposed one was measurable in cabinet temperature.
For sites with generators or nearby plant rooms, the surrounding heat load should also be included. A screen fixed close to a warm wall or under a metal canopy can run hotter than expected, even if the display itself has a good rating on paper.
Cable routes, power stability and service access
Outdoor weathering is not only about the visible face of the screen. Cables, isolators, surge protection and access points need equal attention. If water runs along a cable into a junction box, the screen can fail even though the cabinet itself is well sealed. That is why cable routes should always have drip loops, proper support and clean entry points above any likely standing water.
For South African sites, power quality also matters. Load-shedding means screens may be switched on and off repeatedly, so the electrical design should account for reconnection, startup load and safe shutdown. Surge protection should be included from the start, especially on long cable runs or exposed sites. Municipal and commercial sites may also require specific approval steps, so the installation should be planned with the correct structural and electrical sign-off process in mind.
- Route cables so water cannot travel directly into enclosures.
- Keep isolators and control gear accessible for maintenance teams.
- Plan for safe restart after outages and voltage fluctuations.
- Allow enough working space behind the screen for inspections and repairs.
A local example: a roadside screen near Modderfontein
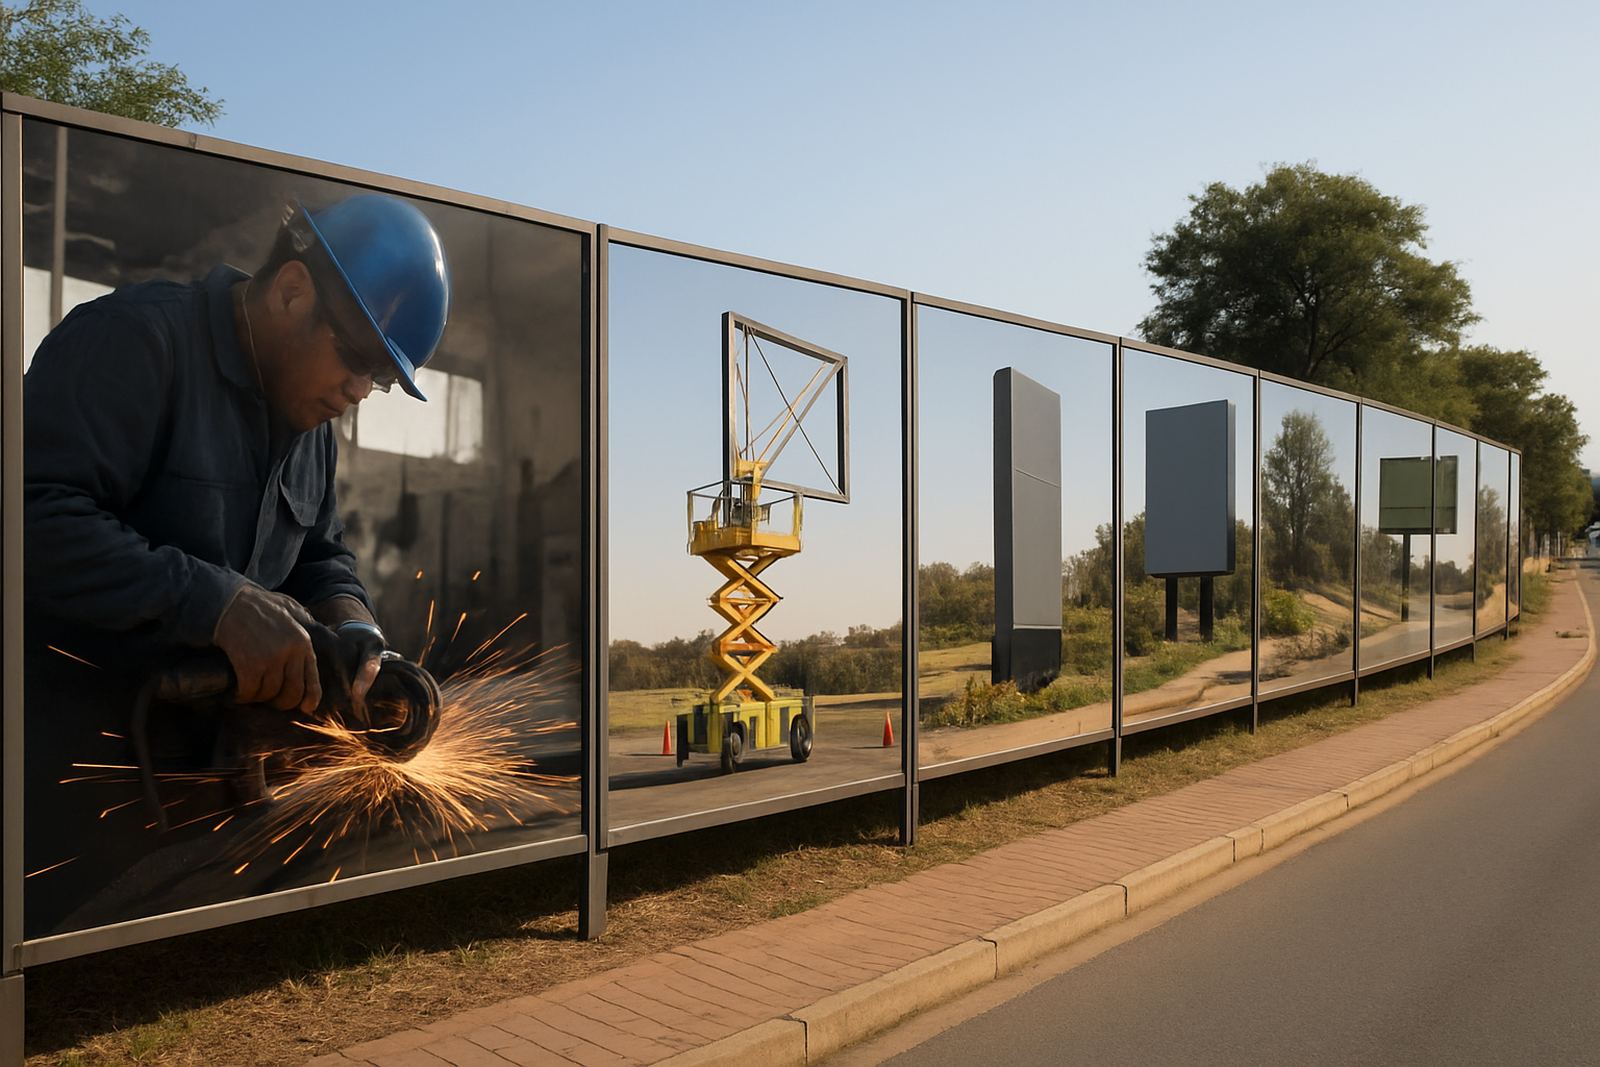
At a roadside site near Modderfontein, an LED screen had to work beside traffic, dust and heavy summer rain. The first concern was not the brightness of the display but the drainage around the mounting point. The structure sat where runoff from a nearby surface could reach the base, so the screen was set with a clear water path and the lower enclosure was raised to keep splashback away from the cable entry points.
The second issue was heat. The unit faced afternoon sun and the area received direct glare for several hours. The solution was to adjust the mounting angle slightly, improve air movement behind the cabinet and use weather-resistant fixings that would not seize up after repeated wet and dry cycles. That combination gave the maintenance team better access and reduced the chance of trapped moisture after storms.
These are the kinds of details that separate a screen that merely turns on from one that keeps working through the seasons. The display surface may be the part people see, but the real performance is in the sealing, drainage and heat control behind it.
What to check before sign-off
Before handover, an outdoor LED screen should be tested as a system, not only powered up. Check the seals after a water test, confirm that all drain points are open, make sure the cabinet temperature stays within safe limits and inspect the cable entries after the first service access. If possible, do this with the same crew who will maintain the screen later, because they will spot practical issues that a quick final walk-through might miss.
For brands, developers and municipalities, this stage is where future cost is won or lost. A screen that is easy to inspect and properly protected will save time, reduce call-outs and handle South African weather with fewer surprises. The aim is simple: the screen should look sharp and keep working, even when the site gets messy.