
Start with the site purpose and risk level
A hoarding must do more than hide a construction site. It should control access, protect pedestrians, manage dust, carry branding and stand up to wind, rain and site abuse. In Gauteng, that means planning for strong summer storms, heavy traffic vibration and the odd impact from vehicles or materials at the kerb.
Before anyone prices the job, define what the hoarding must achieve. A retail site in Sandton will need a different finish from a municipal project in Pretoria or a mixed-use development in Midrand. The more exact the brief, the fewer change orders later.
- Is the main aim security, branding, public safety, or all three?
- Will the hoarding stay up for 3 months, 12 months, or longer?
- Must it carry campaign graphics, wayfinding, or project information?
- Will there be gates, viewing windows, or access points for trades?
- Does the site face high foot traffic, strong winds, or public transport routes?
Define the security spec before the panels go in
Security should be set at brief stage, not added at the end. Hoardings near busy streets in Johannesburg, Germiston or Pretoria often need stronger framing, tamper resistant fixings and a clear line on who can open panels and access gates. If the site sits near a school, taxi route or informal pedestrian path, the risk profile changes again.
Ask for the hoarding to be designed around the actual site conditions, including ground levels, uneven kerbs and service lines. If the base is not level or the slab is still curing, the fixing method must suit the site. On projects where theft or vandalism is a concern, reinforced corners and locked access points are worth the extra spend.
- Specify frame type, footing type and fixing method.
- Confirm lockable access points and who holds the keys.
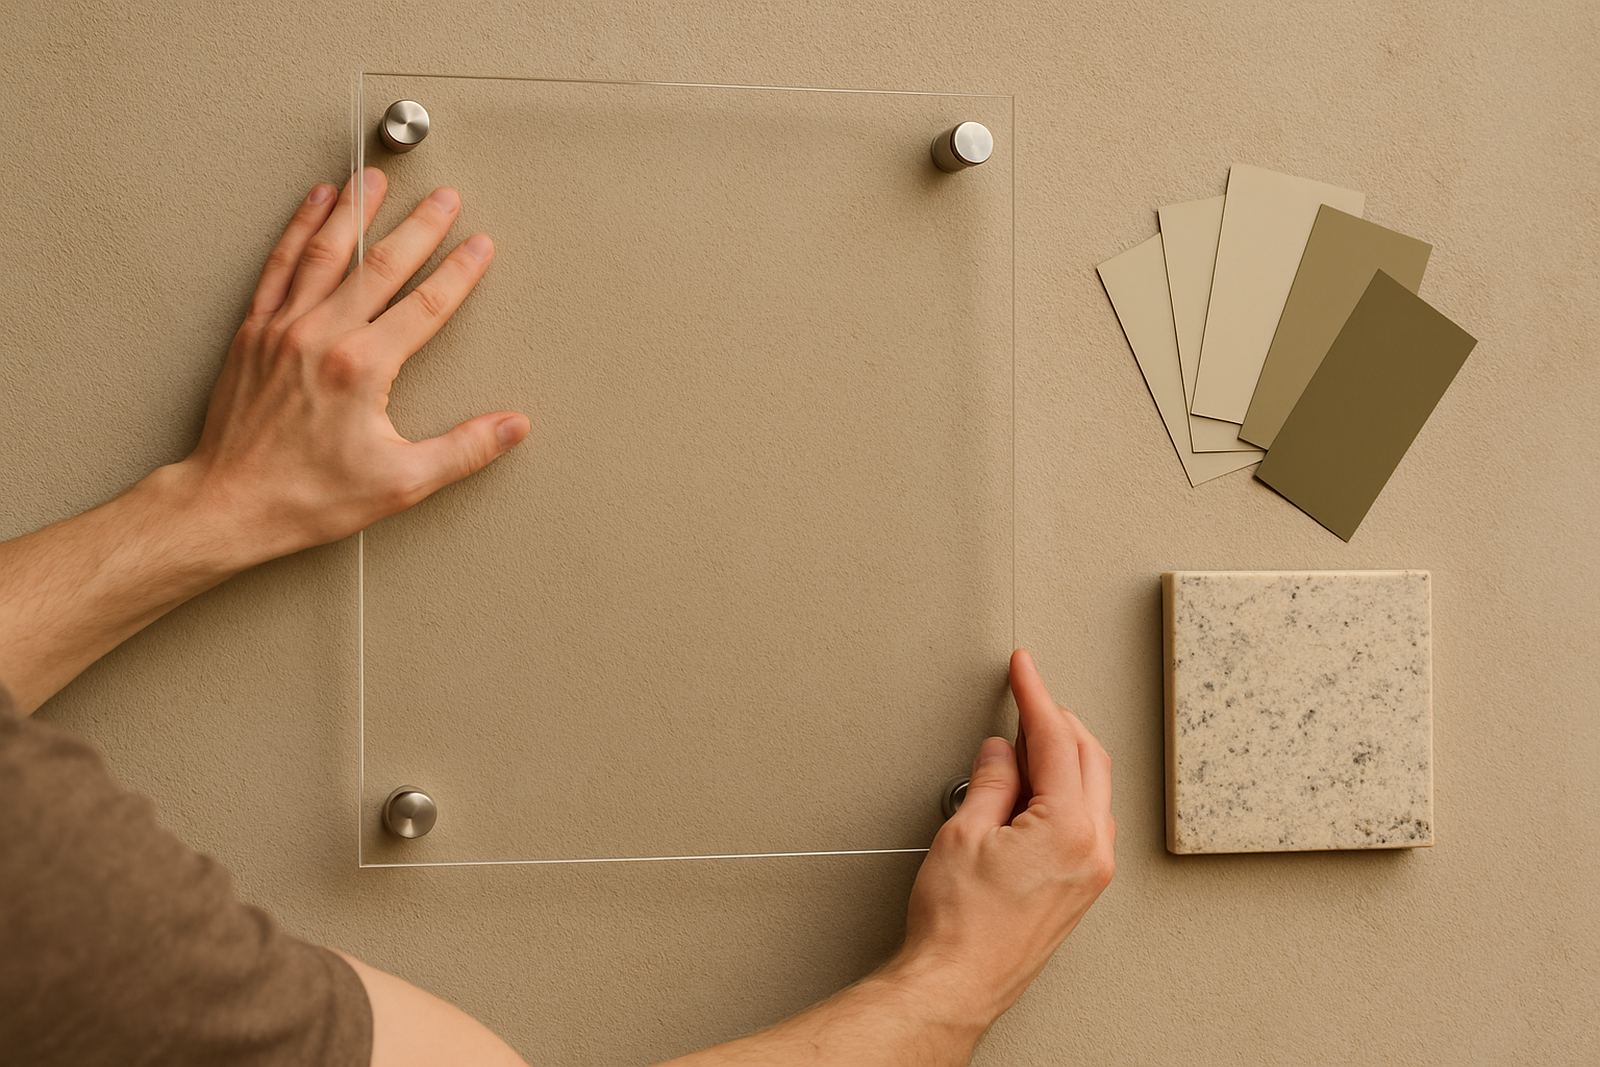
- Ask for anti-tamper screws or hidden fixings where needed.
- Check if the lower section needs extra impact protection.
- Include night visibility if the site fronts a road or intersection.
Choose graphics that work from the street, not just on screen
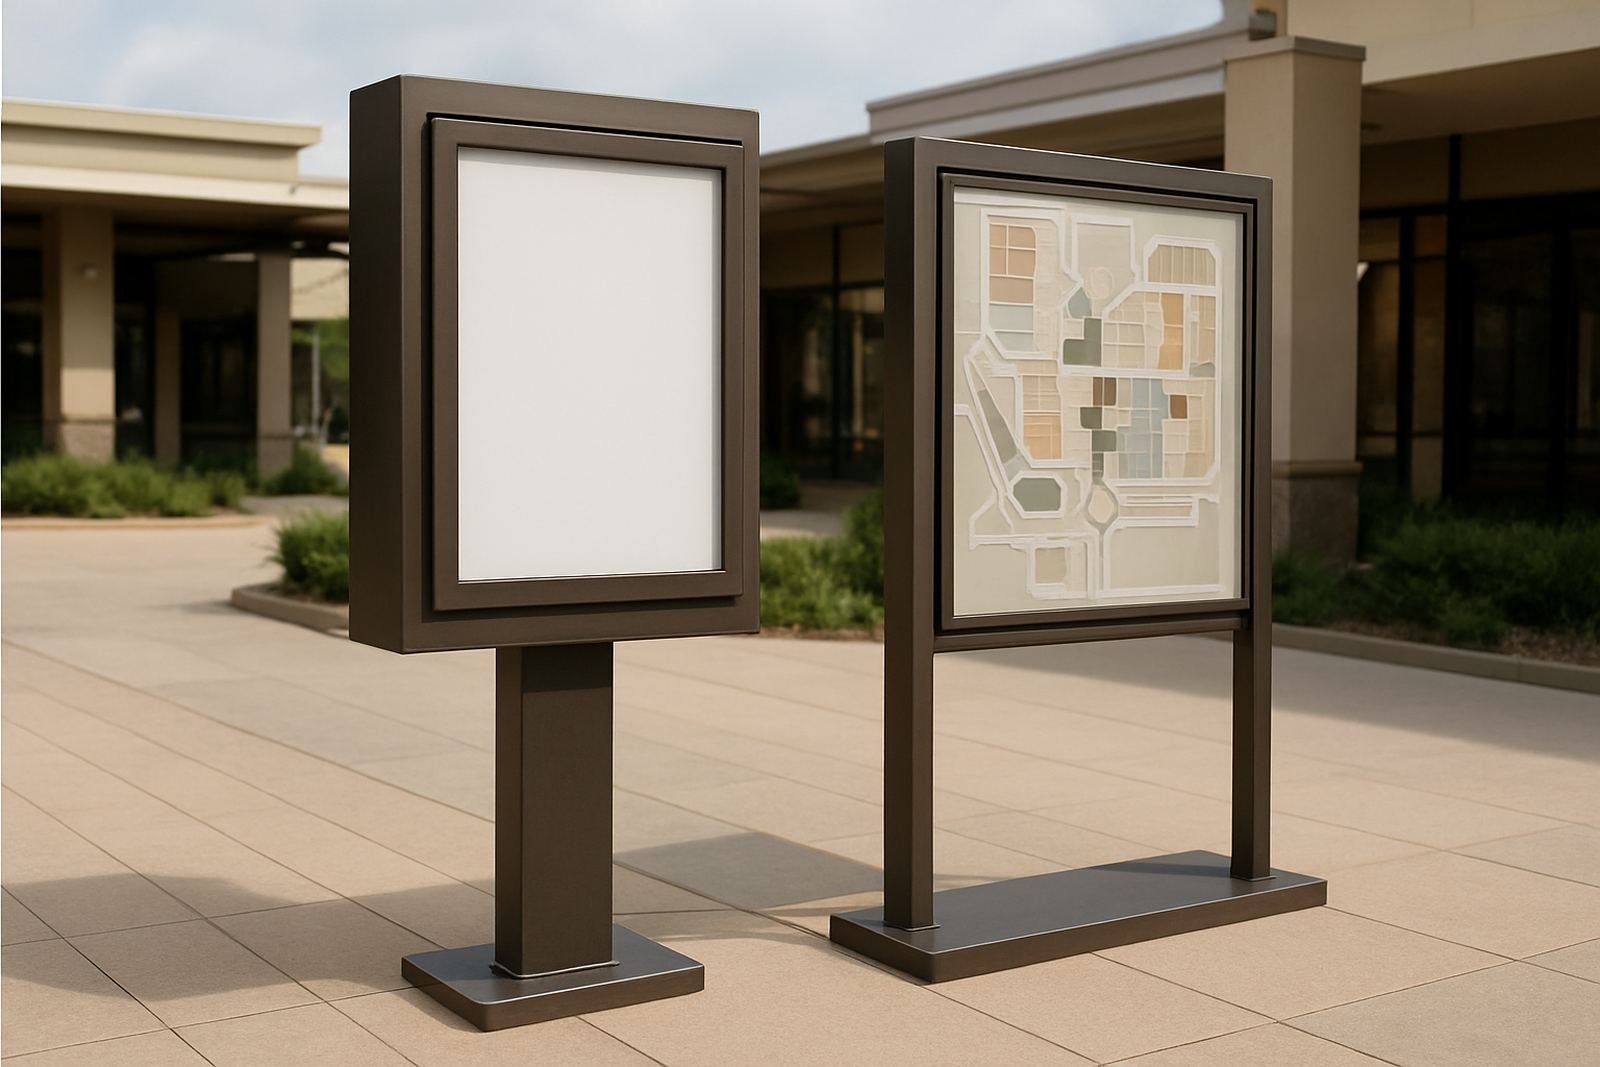
Good hoarding graphics must read quickly from a moving car, taxi or pedestrian path. Large type, simple messages and clear project branding usually perform better than crowded layouts. In places like Sandton and Randburg, the hoarding can double as a strong marketing surface, while in municipal or industrial areas the priority may be public notices and safety messaging.
Print quality matters because sun and rain will punish weak material. For long runs, ask for graphics that can be replaced panel by panel instead of reprinting the whole site. If the project will last through more than one season, consider how the graphics will age in high UV conditions and during load-shedding when lighting may fail. Night visibility should still be planned for.
- Use short headlines and large, legible type.
- Keep logos and contact details simple and visible.
- Allow for safety notices, access signs and statutory information.
- Confirm colour matching across separate print batches.
- Plan for reflective elements if the hoarding sits beside roads or driveways.
Set the lifespan and maintenance plan from day one
A hoarding that stays up for six months does not need the same spec as one that remains for two years. The lifespan should drive the panel material, coating, fastening system and maintenance budget. Coastal humidity for projects heading to Durban or the eastern seaboard can shorten the life of mild steel parts if the protection is not right, while inland dust and heat can weaken lower grade finishes over time.
Developers should agree who inspects the hoarding, who repairs damage and how quickly issues are attended to. A bent panel left in place for a week sends the wrong message about the project. Monthly checks are usually a sensible minimum for active sites, with extra visits after storms or any incident at the boundary.
- Define the expected life in months, not just a vague phase.
- Specify cleaning intervals and who pays for them.
- Ask for a maintenance plan covering panels, frames and lighting.
- Set service levels for wind damage, vehicle impact or vandalism.
- Keep spare fixing materials and replacement graphics in stock.
Plan panel replacement before the first panel is fitted
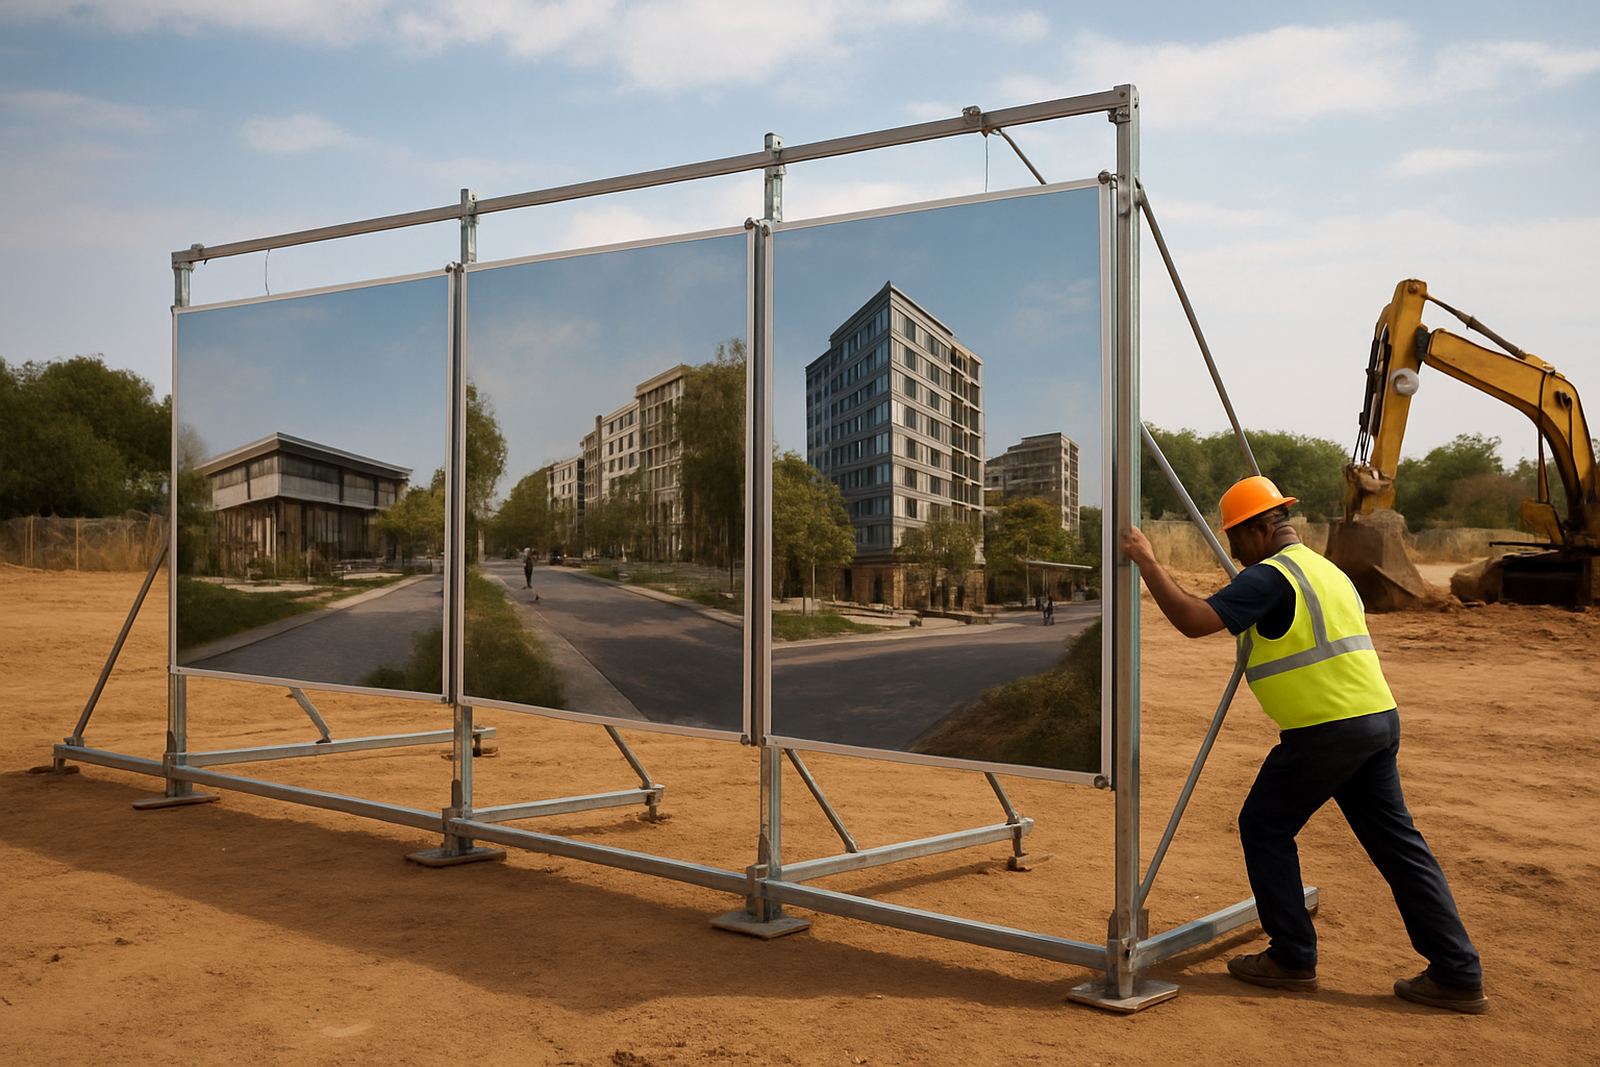
Panel replacement is one of the most overlooked parts of hoarding procurement. If a section is damaged by wind, dust bins, deliveries or site traffic, it should be possible to replace only that area without stripping the whole run. This saves time and keeps the site neat while work continues behind the fence.
The best approach is to standardise panel sizes and fixings from the start. That way, a damaged section can be lifted out and reinstalled with minimal disruption. Ask for a spare panel schedule and make sure replacement graphics can be matched later, especially if the project name or phasing changes.
- Use repeatable panel sizes wherever possible.
- Keep a record of coatings, colours and print artwork codes.
- Allow for future access to services, gates or viewing slots.
- Check whether damaged panels can be swapped without specialist tools.
- Hold contingency stock for fast repairs after storms or impact.
Use a simple buying checklist before sign-off
Once the brief is clear, the next step is to sign off the details in writing. This reduces disputes and helps the site team manage approvals, fabrication and installation in the right order. For projects across Gauteng and the rest of Africa, the process should also cover local rules, road authority needs and site-specific safety requirements.
A practical hoarding package usually includes drawings, material notes, structural coordination and an installation plan. If there are municipal interfaces, road edges or public walkways, those details must be addressed before any work starts. It is far cheaper to correct a drawing than to move a finished hoarding after installation.
- Site layout drawing with lengths, heights and access points.
- Material schedule for frames, cladding and graphics.
- Wind and fixing assumptions for the site location.
- Approval list for landlord, municipality or road authority if needed.
- Maintenance and replacement plan with named responsibilities.
What developers should expect from a good supplier
A good signage partner will not only price the hoarding, but also help define the right scope. That includes site surveys, material specification, structural coordination, approval support, fabrication management and installation management. For larger developments, the same team should be able to coordinate branding, safety messaging and future changes without starting from scratch each time.
At Deep3 Signage Consultants in Modderfontein, Johannesburg, we work on hoardings for developers and municipalities across Gauteng and beyond. The practical focus stays the same: secure the site, keep the graphics clear, plan the lifespan and make sure panel replacement is straightforward when the site changes.